Understanding Kryždirbystė: The Heart of Lithuanian Carving
Kryždirbystė—the art of carving wooden crosses—stands as one of Lithuania's most recognizable folk traditions. These aren't simple decorative pieces. They're expressions of faith, cultural identity, and artistic skill passed down through families for centuries.
The tradition goes back to medieval times, but it really flourished during the 18th and 19th centuries when wooden crosses became symbols of Lithuanian resistance and spiritual expression. You'll find them in cemeteries, wayside shrines, and homes throughout the country. What makes them distinctive is the intricate detail—geometric patterns, religious figures, plant motifs, and symbolic elements all carved with hand tools.
The best part? You don't need formal training to start. What you do need is patience, decent tools, and a willingness to learn the fundamental techniques that craftspeople have refined over generations.
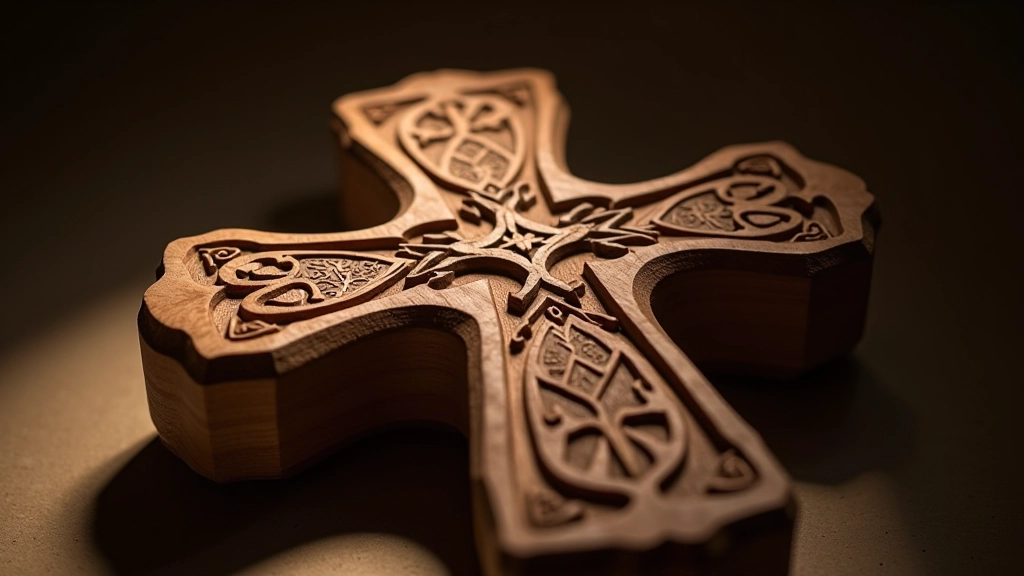
Key insight: Traditional Lithuanian wood carving isn't about replicating nature exactly—it's about expressing symbolic meaning through simplified, geometric forms. That's what makes it accessible to beginners.
Essential Tools for Kryždirbystė Work
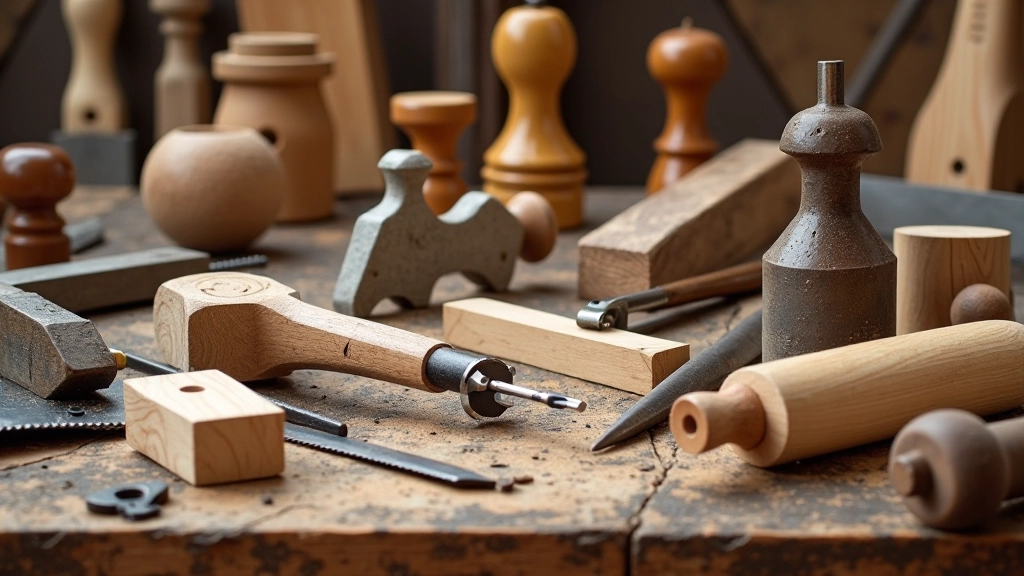
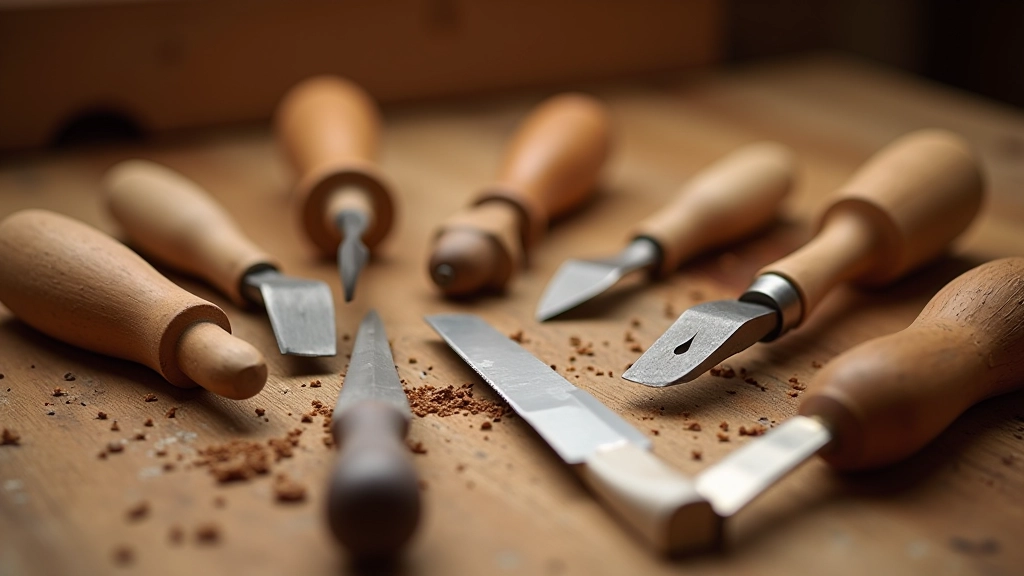
You'll need specialized carving tools, but they don't have to be expensive. The core toolkit includes:
- Carving knives: Straight blades in various widths (6mm to 20mm) for primary shaping. They're your workhorse tools.
- V-tools: Create clean lines and geometric patterns. Essential for the characteristic cross-hatching you see on traditional pieces.
- Gouges: Curved chisels for detail work and creating rounded forms. Different sweep numbers give different curve depths.
- Detail chisels: Small, sharp chisels for fine features like facial details or small decorative elements.
Don't start with a massive tool collection. A set of 8-10 quality carving tools will cover 95% of what you'll need. Keep them sharp—dull tools are frustrating and dangerous. A stropping compound and leather strop should be part of your routine maintenance.
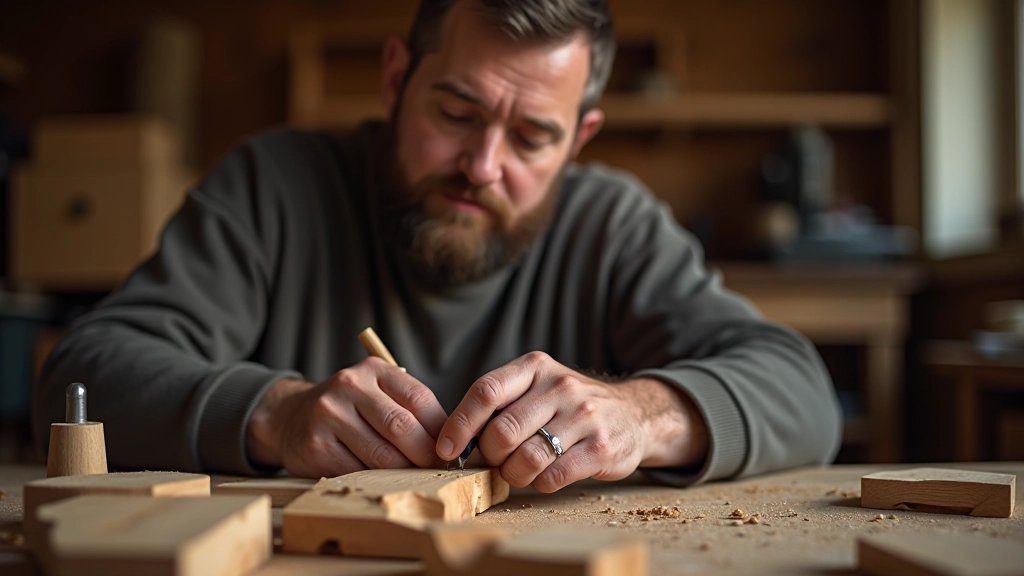
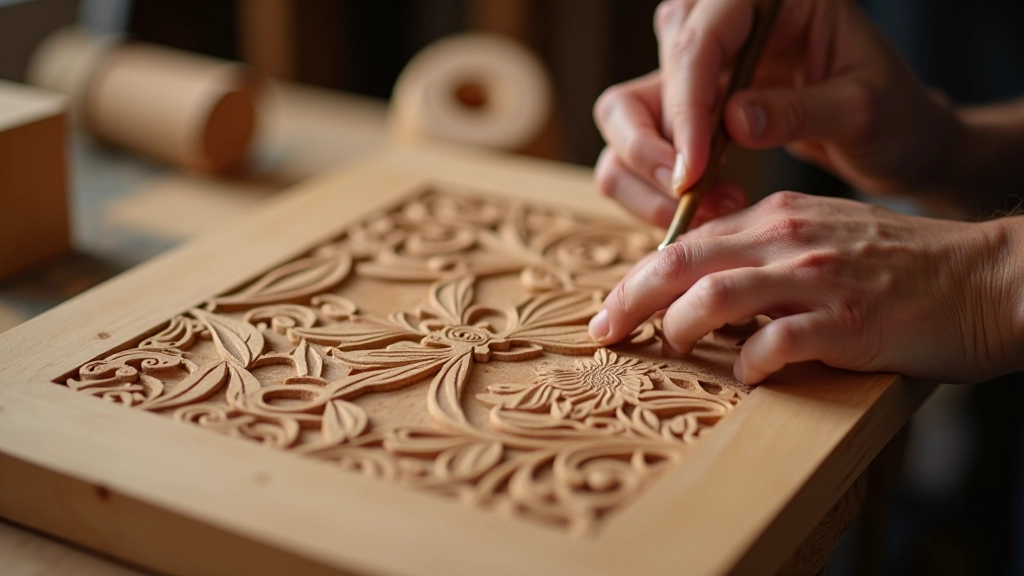
Basic Carving Techniques and Approaches
Traditional Lithuanian carving relies on several core techniques. They're not complicated, but they do take practice to master.
Relief Carving
This is the most common approach for kryždirbystė. You're carving into a flat wooden surface, removing wood to create depth and shadow. The background stays relatively flat while the carved elements rise forward. It's forgiving for beginners because small mistakes blend into the overall pattern.
Line Carving
Using V-tools to cut clean lines that form geometric patterns. These lines often outline larger carved forms or create decorative borders. The depth is shallow—maybe 3-5mm—but the lines catch light beautifully.
Chip Carving
This technique uses small cuts to remove triangular chips from the wood surface. Multiple cuts in geometric arrangements create intricate patterns. It's meditative, rhythmic work that produces impressive results fairly quickly.
Important: This article provides educational information about traditional Lithuanian wood carving techniques. It's designed to help you understand the craft and get started. Always prioritize safety when working with sharp tools—wear appropriate protection, work in good lighting, and consider taking in-person instruction from experienced carvers. Results vary based on individual skill, practice, and the specific tools you use.
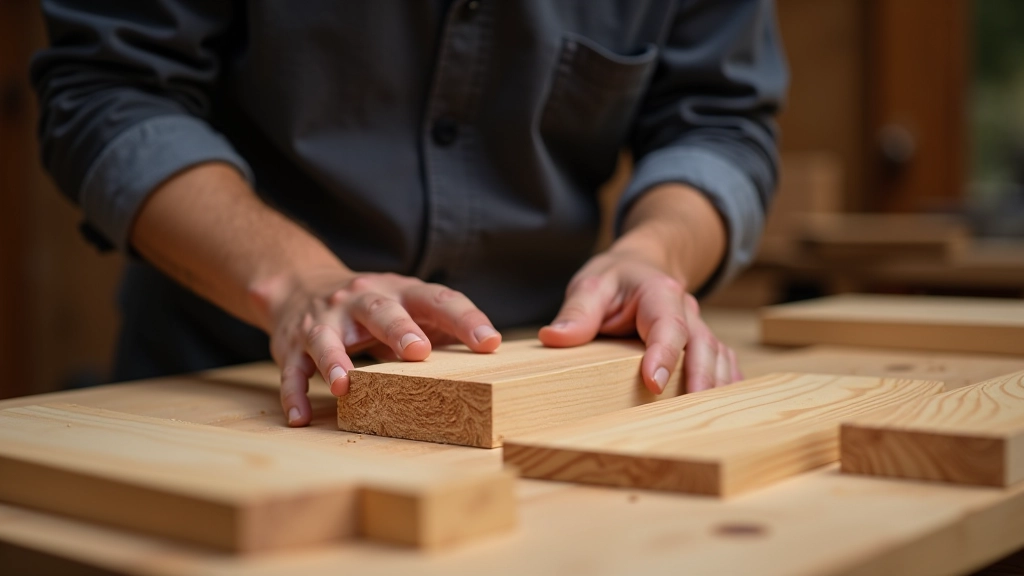
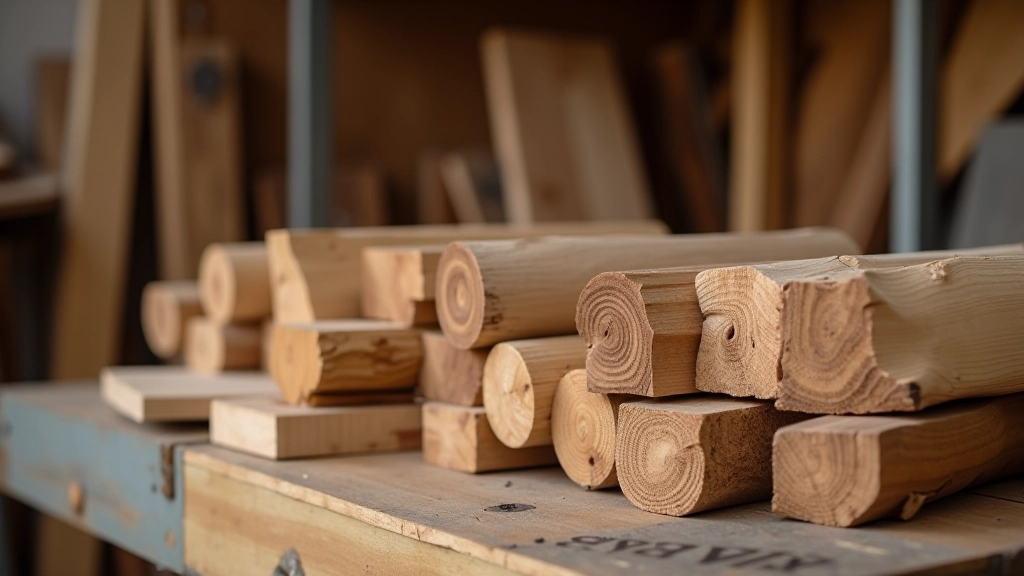
Choosing Your Wood and Preparing the Blank
Wood selection matters more than people realize. Traditional Lithuanian carvers prefer softwoods because they're easier to cut and less likely to splinter. Lime wood (linden) is the gold standard—it's fine-grained, consistent, and works beautifully with hand tools. Aspen and birch are also good choices.
Avoid hardwoods when you're starting out. Oak and walnut require much sharper tools and significantly more physical effort. You want wood that cooperates with your carving rather than fighting you.
Before carving, let your wood dry completely. Fresh-cut wood is unpredictable—it'll warp and crack as it dries. Many carvers work with wood that's been seasoned for 6-12 months. When you're ready to start, sand the surface smooth with 150-220 grit sandpaper. A clean surface helps you see your lines and makes carving feel more controlled.
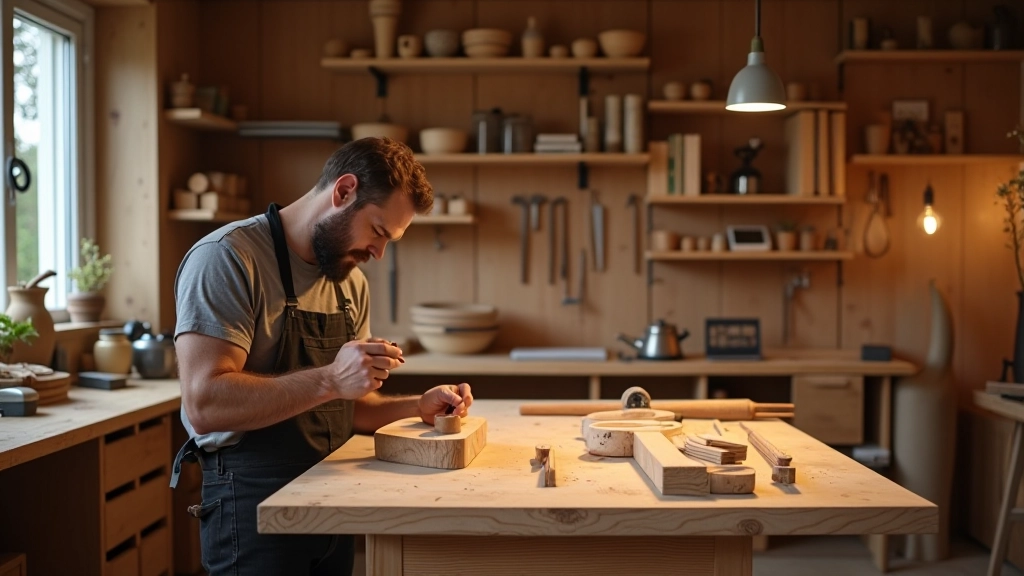
Getting Started: Your First Project
The best way to learn is by doing. Start simple—maybe a small panel with geometric line carving or a simple relief design. You're not trying to recreate a museum piece. You're learning how the tools behave, how to read the wood grain, and how to develop your own hand control.
Traditional Lithuanian carvers didn't start with complex crosses. They practiced fundamental techniques until they became second nature. That's exactly what you should do. Spend time on basic relief patterns, V-tool lines, and chip carving before attempting ambitious designs.
And here's the thing—mistakes aren't failures. Wood carvers have been making mistakes for centuries. Sometimes they carve over them, sometimes they sand them smooth and start that section again. It's part of the process. What matters is that you're learning a craft with real history and real cultural significance. That makes every hour you spend on it worthwhile.